
Shooting in Adverse Weather: Tips for Photographing in Rain, Snow, and Fog
Outdoor photography is about more than just beautiful golden hour shots and clear skies. More often than not, when heading outdoors with our camera we come face to face with the unpredictability of nature. I believe that the beauty of nature lies in its diversity. It might be challenging to shoot outdoors when the skies are grey or even rain is falling, but going ahead with a shoot against all odds can be a rewarding experience nonetheless.
1. Preparing for Adverse Weather
1.1 Weather Forecast

Image credit: Gavin Allanwood via Unsplash
Make sure to diligently check the forecast before planning the shoot. Keep re-checking it during the days coming up to it. Weather patterns can change in an instant so it is essential to keep up to date with the forecast up until the last minute.
I like to use 2 - 3 weather apps to compare their results, such as AccuWeather and Weather Channel. Check the weather for the specific location and time of the photoshoot and make sure that it’s not set to your current location (unless that is where the photoshoot will take place, of course).
Check the forecast for temperature, precipitation, and visibility. To plan the shoot for a specific time of day, a great app to use is SkyCandy. The app can give you an approximation of what the sky will look like at that hour considering the weather. Another great app is Sun Locator, which will show you the position of the sun at a specific hour in a specific location. It will give you the time of sunrise, sunset, golden hour, and blue hour among other data.
1.2 Protective Gear

Image credit: Markus Spiske via Unsplash
Bring protective gear both for yourself and your camera. Depending on the season/altitude/geography you might need to bring layers, a raincoat, a hat, and gloves. As for your camera, bring a suitable rain cover. This can be something you specifically buy for the camera or fashion yourself. You can find some great tutorials online for it. Bring lens hoods, and a dry microfiber cloth in case dust or water gets onto your lens. A neutral UV filter can be a great support to prevent water or dust from settling directly on your lens without changing the properties of the image. Be very careful when removing water or dust from your lens. Never forcefully wipe it, try using an air blower pump or try dabbing it, until it’s dry again.
1.3 Camera Bag and Tripod
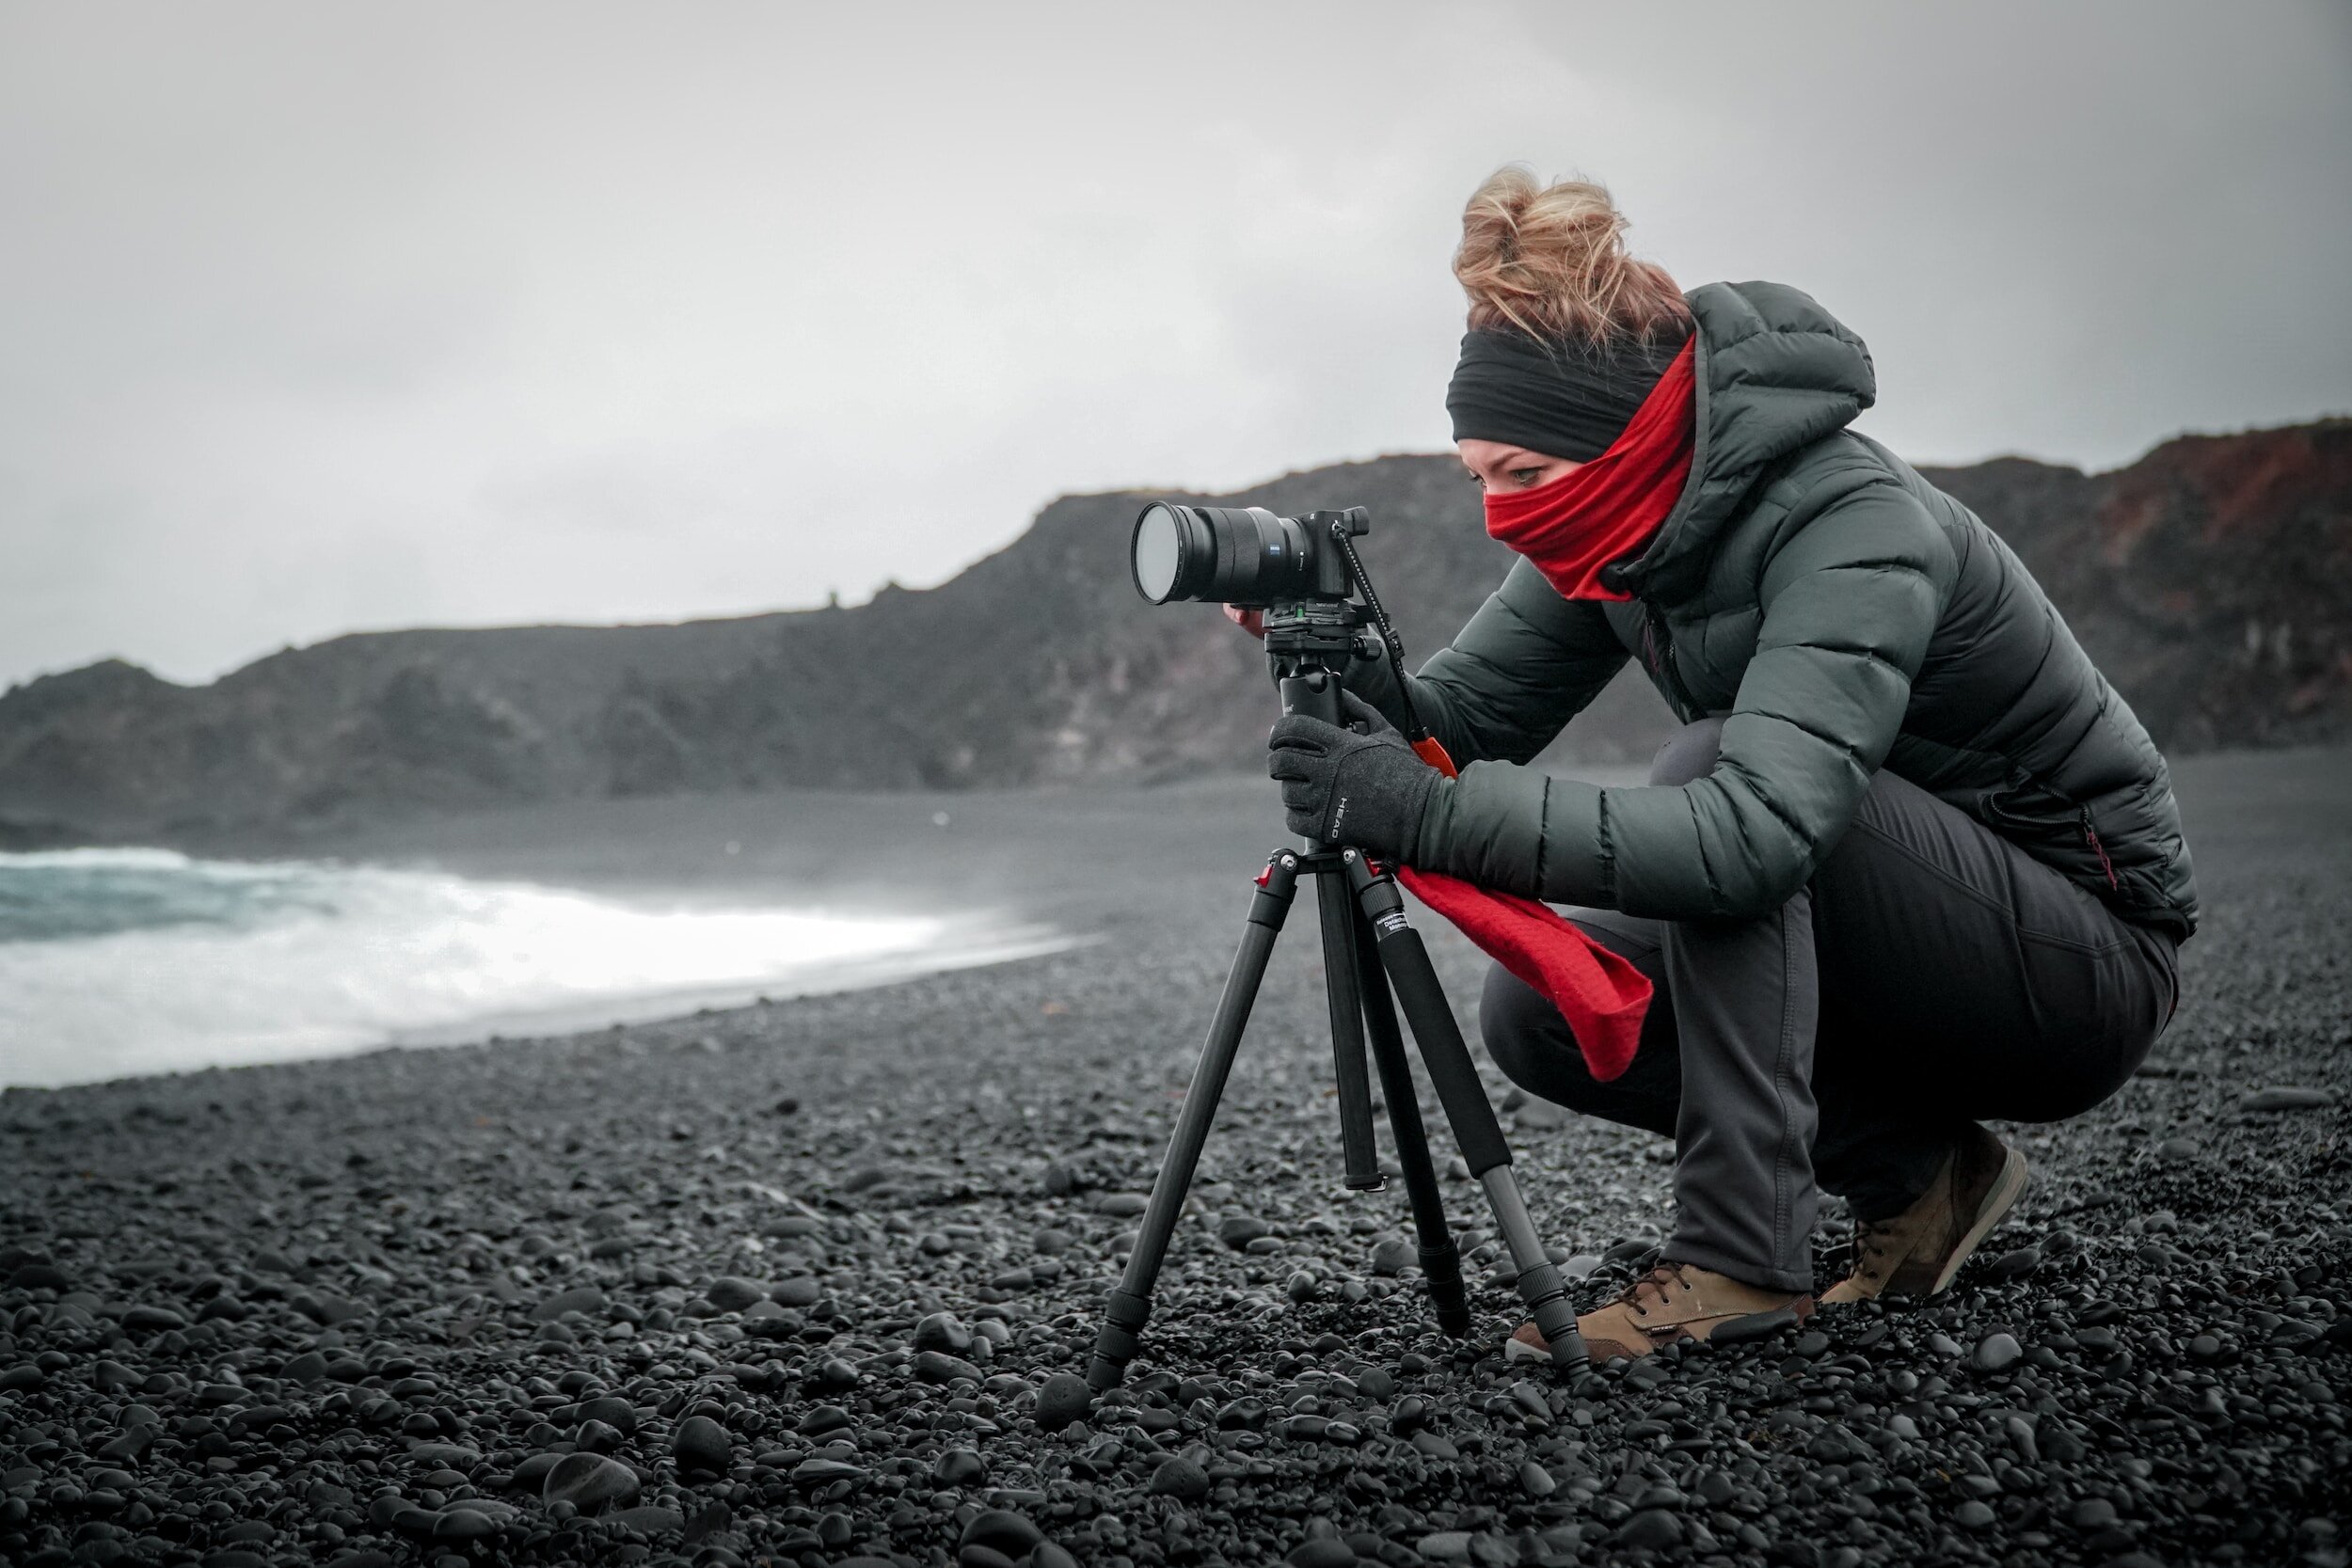
Image credit: Kameron Kinsade via Unsplash
When choosing a camera bag, opt for water-resistant materials. In case you are using your phone to take the pictures, this is much easier to solve. Just slip it into your inside pocket and make sure your jacket is weatherproof.
You might want to shoot from a tripod, so check to ensure that it is stable and designed for outdoor use. If you are shooting in windy weather, use a counterweight on the tripod and secure its legs with some rocks so that it doesn’t fall over. Either way, be prepared to catch it if it falls over for whatever reason.
If you are just buying your photography gear and you know you will be shooting outdoors most of the time, definitely consider the weight and portability of your gear. Hauling a 1.5-kilo camera and 2-3 large lenses with you on your outdoor escapades, this can easily turn into a chore rather than the fun it is meant to be. Check forums for the most recommended outdoor cameras. Consider opting for mirrorless for better portability. Again, if you are shooting with a phone, this is likely not going to be an issue for you.
2. Camera Settings for Adverse Weather
2.1 Shutter Speed

Image credit: Nadiia Ploschenko via Unsplash
Using shutter speed to enhance the mood can help you create unique effects by adjusting it to specific weather conditions. For example, faster shutter speeds can work well in rain or snow to freeze the motion of the falling raindrops and snowflakes. Slower shutter speeds can help you create an ethereal effect during foggy weather.
2.2 Aperture and Depth of Field

Image credit: Alberto Restifo via Unsplash
Your aperture setting determines the amount of light that gets onto the sensor of the camera and determines the depth of field in the image. You can use a wider aperture during foggy weather to create a sense of depth and mystery. Make sure that your main subject is in the field of focus. Narrow apertures can help you increase sharpness during snow or rain. In the case of the latter, make sure to compensate for the loss of light by raising the ISO setting or lowering the shutter speed. This, however, can lead to motion blur, so consult the previous point to see whether you want this effect or not, or compensate for it by using a tripod.
2.3 ISO Settings

Image Credit: ShareGrid via Unsplash
ISO is the third setting that you can use to manipulate the brightness of your scene in camera. Raising the ISO can help compensate for light lost with a larger aperture or higher shutter speeds. However the higher you go the more considerable the loss of quality after a certain point. Still, in foggy weather, the added noise of the ISO can even add to the dreaminess of the scene if that is your goal. Experiment with your camera and see what effects you are comfortable with. During snowfall, you might actually find that you need to significantly decrease the amount of light hitting your sensor, or decrease the ISO sensitivity. The snowflakes reflect light and can cause parts of your image to burn out.
3. Composition and Creativity
3.1 Foggy Atmosphere

Image credit: Joe Peea via Unsplash
You’ve probably seen those foggy dreamscapes online and wondered how to recreate them. By embracing the opportunities provided by the foggy weather and getting creative, you can definitely create some unique shots. Experimentation is key here. Try shooting different scenarios and look for silhouettes and backlights that can enhance your subject matter without exposing too much of it. Use leading lines to draw attention to certain areas of the frame. You can use the previous settings of shutter speed, aperture, and ISO to create unique compositions.
3.2 Rain and Reflections

Image credit: Katherine McCormack via Unsplash
The scene after a rain can be one of the most fun environments to shoot in. Utilize puddles to capture reflections. You can also frame your subject matter with the puddle to add dimension to the photograph. The interplay of light and water can create unique effects that will make your images stand out.
3.3 Snowscapes

Image credit: Ikocarev via Unsplash
Snowscapes are another fun environment to experiment in. Make sure to adjust your white balance for accurate color reflection. Unless you want to create a specific mood by consciously altering the white balance. Don't go overboard with it though. Small adjustments can add a unique flavor to your images without overwhelming the viewer. A snowy landscape can reflect the purity and serenity of nature. You can create beautiful, clean landscapes utilizing an all-white background. By incorporating human subjects you can emphasize the scale of the landscape and contrast them against the white background.
4. Post-Processing and Editing
4.1 RAW vs. JPEG
This has become a mantra to me over the years: shooting raw is the best way to shoot, hands down. Nowadays you can even do this on phones, just make sure to check if yours has this setting or not. Basically, what Raw does is it preserves a lot more information from the scene captured than a normal jpeg. A JPEG is a compressed image file, while raw preserves the different layers of the photograph that you can independently manipulate during post-production. It is invaluable for recovering colors, correcting exposure settings, contrast and clarity, and getting creative with all aspects of an image.
4.2 Removing Water Spots and Fog

Image credit: James Jeremy Beckers via Unsplash
You can use post-production techniques to remove unwanted elements from the picture as a result of the specific weather conditions you shoot in. You can use clone and healing tools for spot removal. You can also use post-production techniques to enhance visibility and contrast in fogy shots.
4.3 Creative Editing

Image credit: Theo van der Meer via Unsplash
Besides using basic settings for correcting and enhancing, you can use post-production tools and techniques for creative editing. The possibilities are almost endless. For example, you can use color temperature adjustments to fit specific weather conditions. You can add texture and drama to foggy and rainy shots. You can vignette to add even more suspense to foggy or snowy scenes. There are truly no wrong answers here, the limit is your imagination.
Conclusion
Shooting in adverse weather need not be an impediment to your creative escapades. Instead, take it as an opportunity to create something unique and extraordinary. Make sure to protect your gear and be prepared for changing weather conditions. Take advantage of post-production tools and techniques to further enhance your images. Proper preparation, technique, and creativity can help you capture memorable outdoor photos in rain, snow, and fog.